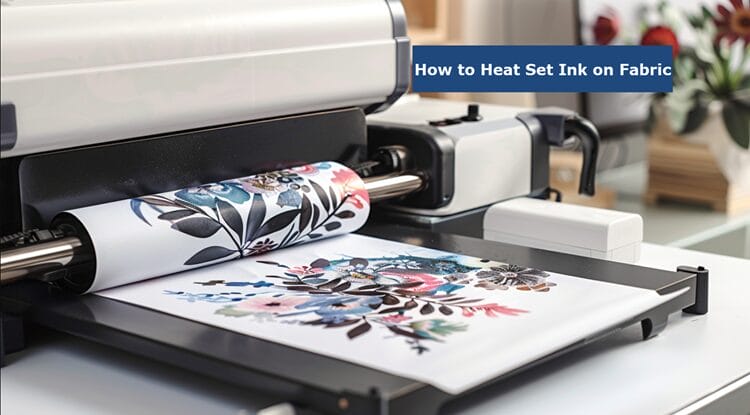
Imagine you've just finished creating a vibrant design on a cotton T-shirt using fabric ink.
Now, the crucial step of heat setting awaits, ensuring your masterpiece stays intact through countless washes and wears.
But how exactly do you go about this process to achieve durable and long-lasting results?
Stay tuned to discover the best techniques and practices for effectively heat-setting ink on fabric, preserving your art for years to come.
If you're wondering how to heat-set ink on fabric, this guide will walk you through the steps.
It's essential to use the right type of ink for lino printing to ensure your design remains vivid and vibrant over time.
Key Takeaways
- Heat-setting ink ensures durability and wash-fastness on fabric.
- Using recommended methods like heat press or iron is crucial.
- Proper preparation, application, and monitoring are essential for effective heat setting.
- Test on similar materials and check for quality after heat setting.
Understanding the Importance of Heat Setting Ink
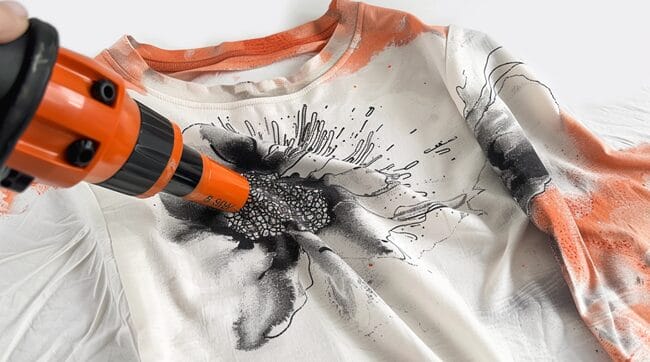
When heat setting ink on fabric, you’re essentially bonding the ink to the fibers, ensuring durability and wash-fastness.
By subjecting the ink to heat, you’re allowing it to penetrate the fabric at a molecular level, making the design less prone to fading or washing out.
Understanding the importance of heat-setting ink is crucial in maintaining the quality and longevity of printed designs on fabric.
What Is the Purpose of Heat Setting Ink on Fabric?
To understand the importance of heat-setting ink on fabric, it’s crucial to recognize that this final step in the screen printing process is essential for making water-based screen printing ink permanent on textiles.
Heat setting plays a vital role in ensuring color fastness, and preventing fading in the laundry.
Additionally, it prevents smudging and enhances adhesion between the ink and the fabric.
By curing the ink through heat setting, it becomes more durable and long-lasting. This process bonds the ink permanently to the fabric, allowing you to wash the fabric without the design coming off.
Moreover, heat setting activates the pigments in modern water-based fabric screen printing inks, bonding them securely to the fabric for a lasting print.
How Does Heat Setting Help to Ensure the Longevity of Printed Designs?
Heat setting is a crucial process that ensures the longevity of printed designs by permanently bonding the ink to the fabric. This technique involves applying heat to the ink-covered fabric, allowing the ink to cure and set into the fibers.
By heat setting the ink, you prevent it from washing out or fading prematurely during subsequent wash cycles.
The heat essentially activates the chemicals in the ink, causing it to adhere firmly to the fabric, making the design more resistant to abrasion and everyday wear.
Proper heat setting techniques not only help maintain the vibrancy of the print but also increase the durability of the design, ensuring your printed fabric lasts longer without losing its visual appeal.
Methods for Heat Setting Ink
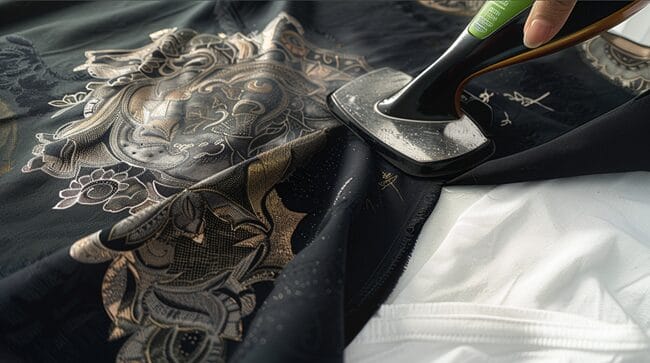
To ensure the best results, use a heat press when heat-setting ink on fabric.
Follow a detailed step-by-step guide for heat setting with a household iron for precision.
Opt for a heat gun as an efficient method for curing ink on various fabric projects.
Using a Heat Press for Optimal Results
For optimal results when heat setting ink using a heat press, ensure precise temperature control and even pressure distribution across the substrate. This is crucial to achieve excellent color fastness and durability in your prints.
Before full production, always conduct tests on similar materials to fine-tune settings. Invest in high-quality transfer materials like heat transfer vinyl and sublimation paper for vibrant outcomes.
When working with heat transfer vinyl, use protective sheets to prevent scorching and maintain color integrity.
Regularly check and adjust the pressure to ensure uniform distribution. Verify temperature accuracy with an infrared thermometer for reliable results.
Following these steps meticulously will help you achieve professional and long-lasting heat-set ink designs on fabric.
A Step-by-Step Guide to Heat Setting with a Household Iron
When heat setting ink on fabric using a household iron, the key initial step is to ensure your iron has reached the appropriate temperature for the specific fabric type.
Preheat your iron, making sure it reaches the recommended temperature for the material you’re working with.
Select the correct setting on your iron, such as the cotton setting or 400°F for iron-on patches, to prevent damage to the fabric.
Begin ironing in sections, applying firm pressure, and making slow, tight, circular movements to evenly heat set the ink.
Consider pre-pressing for a few seconds to establish an initial bond.
Lastly, allow the fabric to cool completely before removing any protective lining.
Mastering these iron techniques will help you achieve successful ink curing on your fabric projects.
Utilizing a Heat Gun for Efficient Ink Curing
Utilize a heat gun with caution for efficient ink curing, ensuring the ink reaches its cure temperature effectively, especially for plastisol ink applications.
When using a heat gun, direct the heat towards the garment until the ink is dry to the touch, focusing on the print area.
However, be cautious as there’s a risk that the ink may not reach its required temperature for proper curing.
Heat guns can be effective for drying some inks but aren’t suitable for water-based or discharge inks. Water-based inks often need additives like an optidrive water-based low-cure additive for proper drying.
Discharge inks, on the other hand, are best suited for small runs and may not be suitable for curing with a heat gun.
Consider these factors when choosing heat gun alternatives for curing inks on fabric.
Tips and Tricks for Effective Heat Setting
To effectively heat set ink on fabric, it’s important to use the recommended temperature settings suitable for the type of fabric ink you’re working with.
Ensure thorough ink curing by maintaining the right heat level without risking damage to the fabric.
Depending on your project, carefully choose between air drying or using a dryer for optimal heat setting results.
Recommended Temperature Settings for Different Types of Fabric Ink
For optimal heat setting results on different types of fabric ink, consider the recommended temperature settings based on the ink type and material specifications.
When setting the temperature for curing fabric inks, it’s crucial to adhere to the ink manufacturer’s guidelines.
The temperature variations necessary for curing different types of fabric inks are as follows:
- Water-based inks
- Cure at 300–320°F. Use a conveyor dryer at 550–600°F for 2–3 minutes.
- Plastisol inks
- Cure at 320°F. Some low-cure plastisol inks cure at 260°F.
- Low-cure plastisol inks
- Cure at 275–280°F to prevent dye migration and bleeding on polyester shirts.
Consider the material’s heat tolerance to set the appropriate temperature.
Ensuring Thorough Ink Curing without Risking Fabric Damage
To ensure thorough ink curing without risking fabric damage, monitor the curing process closely to prevent overheating or underheating. Proper temperature control is important during the curing process.
Use a Laser Temperature gun to check the ink temperature and ensure it’s curing at the correct temperature. Incomplete curing can lead to poor adhesion, causing the ink to peel or flake off the fabric.
Curing is a critical step in the screen printing process, as it ensures the ink sets into the garment effectively. Without proper curing, the ink may crack, fall apart, and not withstand wash cycles.
Printers typically use heat guns, heat presses, flash dryers, or conveyor dryers to cure inks thoroughly.
How to Air Dry or Use a Dryer for Heat Setting Based on Your Specific Project
Ensure effective heat setting for your specific project by exploring the optimal methods of air drying or utilizing a dryer.
- Temperature Control: Adjust the dryer temperature based on fabric needs.
- Separate Loads: Ensure proper air circulation by separating different fabric types.
- Dryer Sheet: Use a dryer sheet to reduce static and add a fresh scent.
- Immediate Removal: Take out your clothes promptly to prevent wrinkles and over-drying.
Conclusion
Now that you have mastered the art of heat-setting ink on fabric, you can ensure your designs stay vibrant and long-lasting.
Remember, just like baking a cake, the right temperature and time are crucial for success.
With these techniques in your arsenal, you can confidently create beautiful and durable creations that will withstand the test of time.
Now, you can heat set your ink like a seasoned pro!

