Do you ever wonder where photographers get their amazing light from?
Well, you're about to find out!
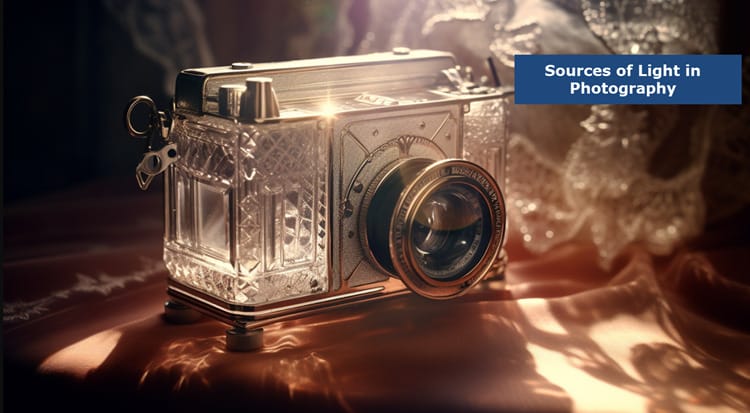
In photography, the sources of light play a crucial role in creating stunning images. Whether it's natural light or artificial light, understanding the different types can help you capture the perfect shot.
Let us dive in and explore the various sources of light in photography. From continuous lights to strobe lights, from natural light to artificial light, each source brings its unique qualities and challenges.
By learning how to set up lighting for different types of photography, utilizing reflectors and fill lights, and understanding the impact of light angles and camera settings, you'll be well on your way to capturing breathtaking photos.
Key Takeaways
• Types of light sources in photography include: continuous light, strobe lights, and natural light, among others
• Color temperature and white balance are important considerations for achieving the desired mood and accurate colors in photographs.
• Light sources can be chosen and adjusted to control direction, intensity, and overall brightness and mood.
• Strobe lights are commonly used in studio settings for freezing motion and providing a powerful and consistent light source.
What are the Different Types of Lighting in Photography?
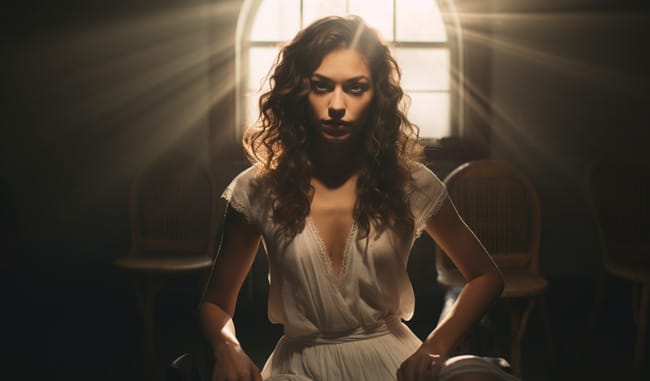
When it comes to lighting in photography, there are several different types to consider.
You have the choice between continuous light, which provides a constant source of illumination, or strobe lights, which emit a brief burst of light.
Additionally, you can decide between natural light, which comes from the sun or other ambient sources, or artificial light, which is created using various light fixtures.
Understanding color temperature and white balance is also crucial in achieving the desired lighting effects.
Continuous Light vs. Strobe Lights
To understand the different types of lighting in photography, it's important to distinguish between continuous light and strobe lights.
Continuous light refers to a constant and consistent source of illumination. It's commonly used in video production and indoor photography, providing a steady stream of light that allows you to see the effects in real-time. Continuous light sources include LED panels, fluorescent lights, and tungsten bulbs.
On the other hand, strobe lights, also known as flashlights, produce a brief burst of intense light. They're often used in outdoor photography or situations where a powerful burst of light is needed.
Strobe lights are versatile and can be adjusted to create different lighting effects. They're commonly used in portrait photography and studio setups.
Understanding the differences between continuous light and strobe lights is crucial in photography lighting. It helps photographers choose the appropriate lighting equipment and techniques for their specific needs.
Related:
Best Light Box for Jewelry Photography
Natural Light vs. Artificial Light
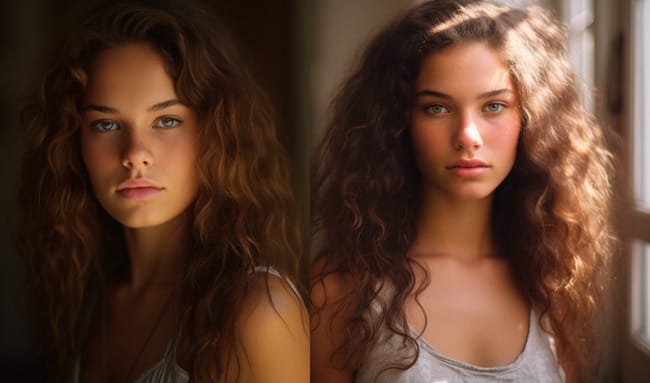
Compare and contrast the characteristics of natural light and artificial light in photography.
Natural light, also known as sunlight, is the light that comes from the sun. It's a primary source of light that provides a soft and diffused illumination. It changes throughout the day, creating different moods and tones in photographs.
Artificial light, on the other hand, refers to any light source that isn't natural. It can be produced by various artificial sources such as studio lights, flashguns, or even household lamps.
Unlike natural light, artificial light can be controlled and manipulated to create specific effects and lighting conditions. It's typically more consistent and predictable, making it ideal for controlled environments and studio setups.
Both natural light and artificial light have their advantages and disadvantages, and photographers often use a combination of both to achieve their desired results.
Understanding Color Temperature and White Balance
Now let's delve into the concept of color temperature and white balance, which play a crucial role in understanding the different types of lighting in photography.
Color Temperature:
Color temperature refers to the warmth or coolness of light sources. It's measured in Kelvin (K) and ranges from warm (red or orange) to cool (blue or white) tones.
Understanding color temperature helps photographers achieve the desired mood and atmosphere in their images. For example, warm tones create a cozy and intimate feel, while cool tones evoke a sense of calmness and serenity.
White Balance:
White balance is the process of ensuring accurate colors in your photographs by neutralizing the color cast caused by different lighting conditions.
By adjusting the white balance settings on your camera, you can capture images that appear natural and true to life. This is especially important when shooting under mixed lighting situations or using artificial light sources like softboxes or diffusers.
Understanding color temperature and white balance allows photographers to effectively control the lighting in their images and create visually pleasing photographs. It's an essential skill for achieving professional-looking results.
How to Set Up Lighting for Different Types of Photography
Choose the appropriate lighting setup for different types of photography by understanding the various types of lighting available.
One option is to use a lamp, which can provide a focused and directional light source. When using a lamp, consider the wattage and color temperature to achieve the desired effect.
Another option is to use a lighting kit, which typically includes multiple light sources and accessories such as diffusers and reflectors. This allows you to have more control over the lighting and create different effects.
Additionally, consider using a fill light, which helps to reduce shadows and evenly illuminate the subject.
Experiment with different lighting setups to find the one that best suits your specific photography needs.
Utilizing Light Modifiers and Accessories
To enhance your photography lighting, make use of various light modifiers and accessories that can help you achieve different types of lighting effects.
These tools allow you to manipulate and control the intensity, direction, and quality of light to create the desired atmosphere and mood in your photographs.
Here are some commonly used light modifiers and accessories:
• Softboxes: These are used to diffuse and soften the light, resulting in a more flattering and even illumination. They're ideal for portrait photography.
• Reflectors: Reflectors bounce light onto the subject, filling in shadows and adding a touch of brightness. They're especially useful when shooting in natural light.
• White reflectors: These produce a soft, neutral light that's great for general fill lighting.
• Silver reflectors: These create a brighter and more contrasty light, perfect for adding highlights and increasing the overall light intensity.
How to Use Artificial Light Sources in Photography
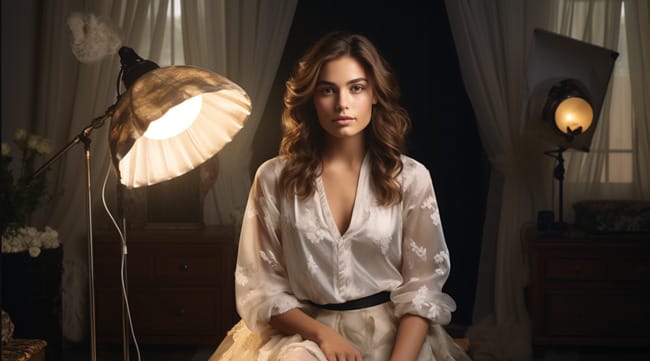
To effectively use artificial light sources in photography, start by choosing the right light source for your setup. Consider factors such as the type of light and its color temperature.
Next, adjust the light beam angles and intensities to achieve the desired effect. Familiarize yourself with the Kelvin scale to understand light color and ensure accurate color reproduction.
Additionally, experiment with different types of strobe lights and learn how to soften and modify the lighting for portrait photography.
Choosing the Right Light Source for Your Setup
Use artificial light sources to enhance your photography setup and capture stunning images.
When choosing the right light source for your setup, consider the following:
• Beam: Look for light sources that provide a focused beam of light. This will allow you to control the direction and intensity of the light, helping you achieve the desired lighting effect.
• Backlight: Consider using a backlight to add depth and dimension to your photographs. This technique involves placing the light source behind your subject, creating a halo effect and separating it from the background.
• LED: LED lights are a popular choice for photographers due to their versatility and energy efficiency. They offer a wide range of color temperatures and can be easily adjusted to match the desired lighting conditions.
Adjusting Light Beam Angles and Intensities
When adjusting the angles and intensities of your artificial light sources in photography, you can enhance the overall lighting effect and bring out the desired details in your subject.
In digital photography, the angle at which you position the light source can dramatically change the appearance of your subject. By adjusting the angle, you can create interesting effects such as shadows or highlights that add depth and dimension to your image.
Additionally, manipulating the intensity of the light source can help you control the overall brightness and mood of your photograph.
Increasing the intensity can create a dramatic effect while reducing it can create more subtle and soft lighting.
Understanding how to adjust these factors will allow you to achieve the desired lighting effect in your photographs.
To further enhance your understanding of light, let's now explore the Kelvin scale for light color.
Understanding the Kelvin Scale for Light Color
To achieve accurate and desired light color in your photography, it is crucial to understand the Kelvin scale and how it relates to artificial light sources. The Kelvin scale is a measurement of color temperature, which determines the color appearance of light sources.
Here are some key points to help you understand and use the Kelvin scale effectively:
• The Kelvin scale ranges from lower values, such as 2000K, which produces warm yellow-orange light, to higher values, like 8000K, which emits cool blue light.
• Different light sources have different color temperatures. For example, tungsten bulbs typically have a color temperature of around 3200K, while daylight is around 5500K.
• Adjusting the ISO setting on your camera can compensate for different color temperatures, helping you achieve accurate colors in your photographs.
• LED lights are versatile and allow you to adjust their color temperature, making them a popular choice among photographers.
Understanding the Kelvin scale and the color temperatures of artificial light sources will enable you to effectively control and manipulate the light color in your photography.
Implementing Different Types of Strobe Lights
Using various types of strobe lights is essential for achieving desired lighting effects in your photography.
Strobe lights are artificial light sources that emit short, intense bursts of light. They're commonly used in studio settings, but can also be used on location shoots.
Strobe lights provide a powerful and consistent light source that allows you to freeze motion and capture sharp images.
There are different types of strobe lights available, including monolights, which are all-in-one units that combine the flash tube and power source, and power pack systems, which consist of a separate power pack and flash heads connected by a cable.
Each type of strobe light has its advantages and disadvantages, so it's important to choose the one that best suits your shooting needs.
How to Soften and Modify Lighting for Portraits
To achieve softer and modified lighting for portraits, you can enhance your photography by implementing various techniques with artificial light sources.
Here are some ways to soften and modify lighting for your portraits:
Diffusion techniques
• Use softboxes or umbrellas to scatter the light and create a soft, even illumination.
• Place a diffusion panel in front of your light source to soften harsh shadows and reduce the intensity of the light.
Reflector techniques
• Use reflectors to bounce light onto your subject and fill in shadows, creating a more balanced lighting setup.
• Experiment with different reflector colors to modify the light's temperature and create unique effects.
How to Capture the Best Photography Lighting for Your Shots
To capture the best photography lighting for your shots, it's important to work with shadows and highlights, as they add depth and dimension to your images. Utilize reflectors and fill lights to enhance the lighting and create a well-balanced composition.
Consider the impact of light angles and camera settings, as they can greatly affect the mood and atmosphere of your photographs. Take advantage of different light modifier kits to achieve various lighting effects.
Lastly, understanding power and ISO settings is crucial for achieving the desired lighting in your photography.
Working with Shadows and Highlights
Capture the best lighting for your shots by understanding how to work with shadows and highlights.
To achieve the desired effect, consider the following techniques:
• Backdrop: Selecting the right backdrop is crucial for creating shadows and highlights. Experiment with different materials and colors to enhance the overall composition of your photograph.
• On-camera lights: Utilize on-camera lights to control the intensity and direction of shadows and highlights. Adjusting the position and angle of the lights can dramatically alter the mood and atmosphere of your image.
Remember these key points when working with shadows and highlights:
• Contrast: Play with the contrast between shadows and highlights to create depth and dimension in your photograph.
• Balance: Find the right balance between shadows and highlights to achieve a visually appealing and well-exposed image.
Utilizing Reflectors and Fill Lights to Enhance Images
Enhance your images by using reflectors and fill lights to capture the best photography lighting for your shots.
Reflectors are essential tools that bounce light onto your subject, reducing harsh shadows and providing a more balanced illumination. They come in various shapes, sizes, and colors, allowing you to control the quality and direction of the light.
Fill lights, on the other hand, are additional light sources used to fill in the shadows created by the main light. By placing fill lights strategically, you can enhance the overall lighting in your image, ensuring that important details aren't lost in the shadows.
Experimenting with different reflectors and fill lights will give you more control over the lighting in your photographs, resulting in enhanced and visually captivating images.
The Impact of Light Angle and Camera Settings
For the best photography lighting in your shots, adjust the angle of light and camera settings to achieve optimal results.
Here are some key points to consider:
Light Angle
• Experiment with different angles to find the most flattering light for your subject.
• Avoid harsh shadows by positioning the light source at a slight angle to the subject.
Camera Settings
• Adjust the brightness by changing the ISO settings. Higher ISO values increase brightness but may introduce noise.
• Control the amount of light entering the camera by adjusting the aperture size.
• Set the appropriate shutter speed to avoid overexposure or motion blur.
By understanding the impact of light angle and camera settings, you can capture photographs with the perfect balance of brightness and clarity.
Advantages of Using Different Light Modifier Kits
To achieve the best photography lighting for your shots, maximize your results by utilizing different light modifier kits. These kits provide you with the flexibility to modify and control the light according to your desired effect.
One advantage of using light modifier kits is the ability to adjust the color temperature of the light source. Some kits include RGB modifiers, allowing you to create a wide range of colors and add creative effects to your images.
Additionally, certain light modifier kits have infrared capabilities, enabling you to capture images in low-light situations or even in complete darkness.
The modification options provided by these kits give you the power to create unique and visually stunning photographs. Understanding how to properly use these kits will greatly enhance your photography lighting skills.
Understanding Power and ISO Settings for Photography Lighting
Maximize the effectiveness of your photography lighting by understanding the power and ISO settings. These settings play a crucial role in capturing the best photography lighting for your shots.
Here are some key points to help you understand and utilize power and ISO settings effectively:
Power Settings
Adjusting the power settings allows you to control the intensity of your lighting. Higher power settings produce brighter light, while lower settings result in dimmer light.
Experiment with different power levels to achieve the desired lighting effect for your subject.
ISO Settings
ISO determines the camera's sensitivity to light. Higher ISO values make the camera more sensitive, allowing you to shoot in low-light conditions.
Be cautious when increasing ISO, as it can introduce noise and reduce image quality. Find the right balance for your desired outcome.
Understanding the power and ISO settings in photography lighting will enable you to capture stunning shots with optimal lighting conditions.
Conclusion
In conclusion, understanding the various sources of light in photography is crucial for capturing stunning images.
By utilizing natural light, and artificial light sources, and mastering the art of lighting techniques, photographers can create visually captivating shots.
Similar to a painter using different brushes to add depth and complexity to their artwork, photographers can use light as their brush, painting with shadows and highlights to bring their subjects to life.
Embrace the power of light and let it guide you on your photographic journey.
FAQ
1. What are the different types of light sources in photography?
As a photographer, understanding the light sources available to you is crucial. The main types of lighting in photography include continuous light, natural light, and flash. Each type has its characteristics and affects the final image differently.
2. How can I manipulate light in a studio setting?
When in a studio environment, a photographer has the opportunity to control the lighting setup to achieve the desired effect. This can be done by using light modifiers such as umbrellas, softboxes, and reflectors to soften the light and reduce harsh shadows.
3. What are the advantages of using natural light for photography?
Natural light offers a unique quality that can be particularly flattering for portrait photography. It is also advantageous for beginning photographers.
4. How does the color temperature of light affect the final photograph?
The color temperature of a light source plays a crucial role in defining the mood and atmosphere of a photograph. Different light sources emit light with varying kelvin values, affecting the white balance and colors captured by the camera.
5. What are the key considerations when using artificial lighting in photography?
When using artificial light sources, photographers should take into account factors such as modifiers like softboxes, the angle of the light, and the power of the source of light to achieve the desired effects while controlling shadows.
