Are you looking to add a new dimension to your art projects?
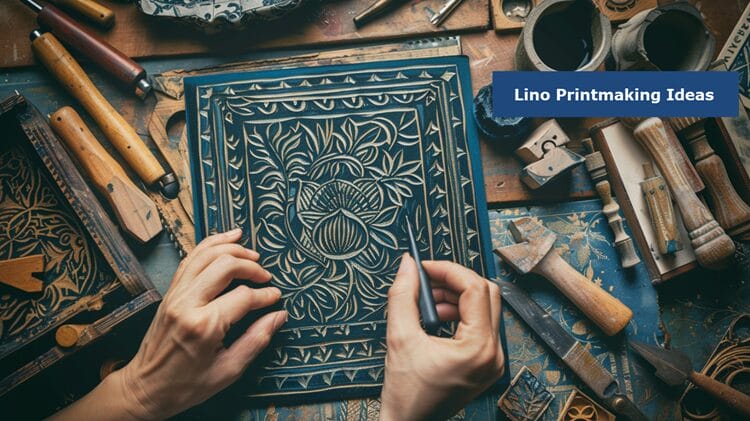
Lino printmaking offers a versatile and engaging way to create unique designs and explore a world of Lino printmaking ideas.
When it comes to creating beautiful prints, choosing the best ink for lino printing is essential for achieving the desired results.
From traditional carving techniques to innovative approaches, the possibilities are endless.
Whether you're a beginner exploring the basics or an experienced artist searching for fresh inspiration, the world of lino printmaking is full of exciting ideas waiting to be unleashed.
If you're interested in printing on fabric, learning how to heat set ink on fabric is important for ensuring your designs stay vibrant and long-lasting.
Discover how you can elevate your artistic endeavors and push the boundaries of this captivating medium.
Key Takeaways
- Explore intricate carving techniques for unique lino print designs.
- Experiment with advanced carving tools and multi-colored prints.
- Embrace creativity to push the boundaries of traditional lino printmaking.
- Master color blending methods for captivating gradients and tones.
Guide to Lino Printmaking Ideas
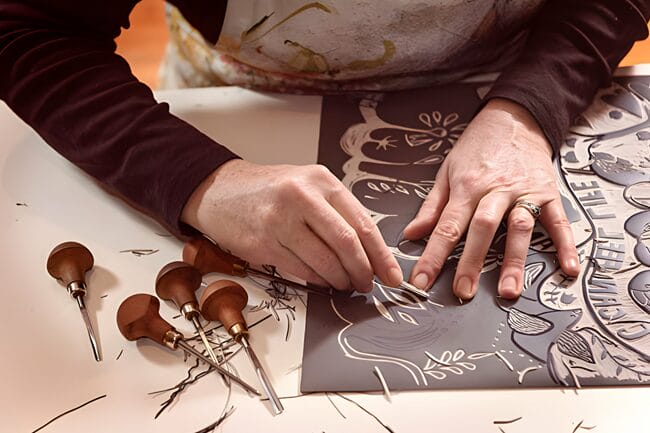
Embark on your lino printmaking journey with this comprehensive guide to unleash your creativity and explore innovative ideas.
When it comes to color blending in lino printmaking, the possibilities are endless. By mixing different ink hues directly on the lino block or layering colors during printing, you can achieve captivating gradients and unique tones.
Experimenting with color blending opens up a whole new realm of artistic expression, allowing you to add depth and dimension to your prints.
Whether you prefer subtle transitions or bold contrasts, mastering the art of color blending will elevate your lino prints to a whole new level.
So, grab your carving tools, select your favorite colors, and dive into the exciting world of lino printmaking.
What Is Lino Printmaking?
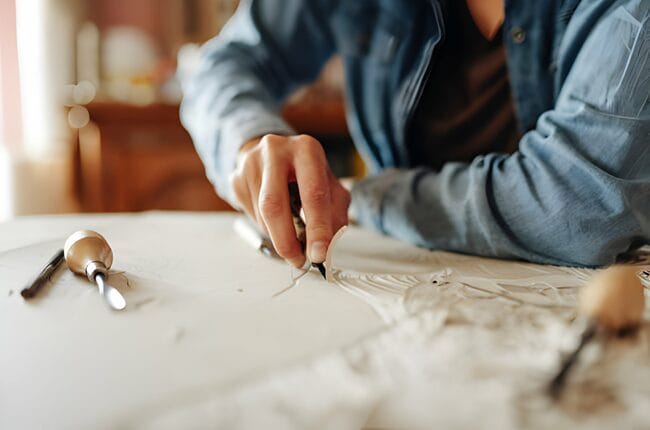
Lino printmaking is a captivating art form that involves carving intricate designs onto linoleum surfaces for printing. The process is akin to woodcut printing but offers unique creative possibilities.
Understanding the basics of lino printmaking and the tools required can open up a world of artistic exploration and expression for you.
Introduction to Lino Printing
In the realm of fine art printmaking, lino printing stands out as a captivating technique that involves carving intricate designs into linoleum surfaces to create unique prints.
The evolution of lino printmaking dates back to the 19th century when linoleum was invented as a cost-effective material. Initially used by German Expressionists and Russian Constructivist artists, lino printmaking gained popularity for its simplicity and versatility.
Artists like Picasso and Matisse further popularized the technique, with Picasso credited for introducing reduction linocuts.
Over time, different types of linoleum have been developed, offering artists options ranging from traditional battleship grey to softer, easier-to-cut surfaces.
The history and adaptability of lino printing make it a fascinating medium for artistic expression.
Tools Needed for Lino Printmaking
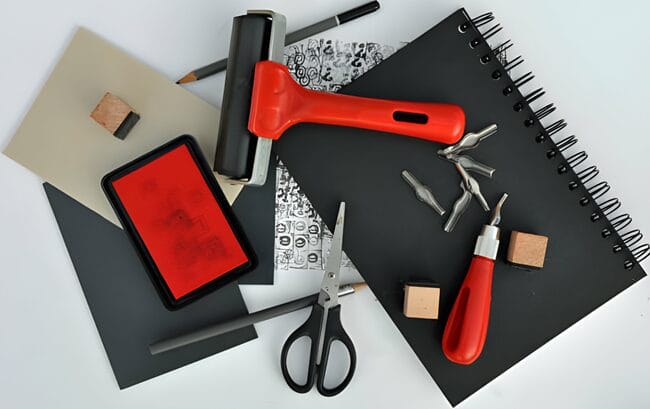
When exploring the art of lino printmaking, understanding the essential tools required is necessary for creating your own unique prints. Tool comparison is key when selecting the right tools for your linocut projects.
For beginners, a starter kit with tools like Essdee lino cutters and a handle set can be a cost-effective option. These tools work well with Softcut Lino.
On the other hand, professional linocut artists often prefer Pfeil linocut tools for their precision and durability.
If you’re working with children or beginners, Essdee also offers safety lino cutters designed for a safer cutting experience.
Whether you choose Essdee or Pfeil tools, each serves a specific purpose in bringing your lino printmaking ideas to life.
How to Create Lino Prints
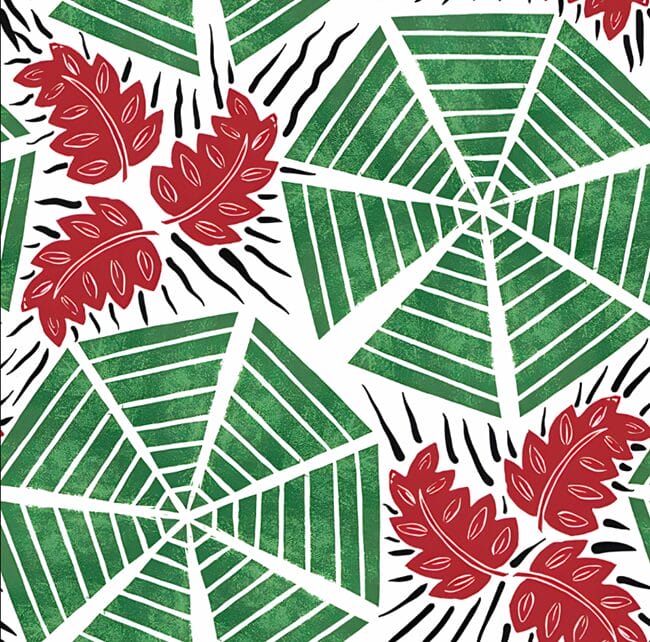
Ready to bring your lino print creations to life?
Explore carving techniques that add depth and texture, experiment with ink application methods to achieve different effects, and brainstorm unique design ideas that showcase your creativity.
Carving Techniques for Lino Prints
Explore the art of lino printmaking by mastering various carving techniques to bring your creations to life with intricate details and textures.
Use innovative carving methods like creating different-sized dots with U-shaped tools, carving circles by rotating the block, and making curved lines by moving your wrist or body.
Experiment with carving little semicircles and triangles, varying the width of lines, and creating square ends for lines.
Practice carving straight lines evenly and securely holding the tools to avoid accidents.
Remember to carve away from your hands and body, using a non-slip mat for stability.
Start with a test block to familiarize yourself with the tools and techniques before diving into your main lino block project.
Ink Application for Lino Prints
For achieving optimal results in lino printmaking, selecting the appropriate ink and mastering the application process are crucial steps to bring your artwork to life with precision and detail.
When it comes to ink application for lino prints, achieving the right ink consistency is key.
Roll out a sufficient layer of ink on the glass, ensuring it’s thick enough to provide solid color without any gaps.
Listen for a light hissing noise as the roller moves over the ink, indicating the correct thickness.
Apply the ink smoothly onto the lino block using a wide roller for even coverage.
Avoid applying too much ink, which can obscure finer details, or too little, resulting in a lack of color intensity.
Mastering ink consistency will elevate your lino prints to a new level of craftsmanship.
Design Ideas for Lino Printing
To expand on your ink application skills for lino prints, delve into creative design ideas that can elevate your linocut creations to new artistic heights.
When seeking pattern inspiration for your lino printing projects, consider the following:
- Explore grid, circle, line, dot, square, and triangle patterns for diverse design possibilities.
- Experiment with monochromatic designs to achieve simplicity and elegance in your prints.
- Incorporate balance, symmetry, and focal points in your compositions for visually pleasing results.
- Look to nature, architecture, and everyday objects for unique design elements.
- Keep a sketchbook handy to collect and develop your design ideas, fostering creativity and innovation in your linocut prints.
Printmaking Tips for Beginners
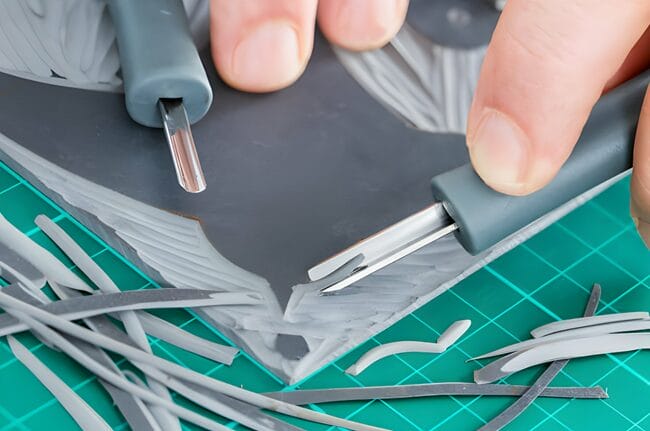
As you begin your journey into linocut printmaking, remember the importance of creating texture in your prints.
Transferring your design accurately onto the linoleum is important for achieving the desired results.
Consider the use of multiple blocks for complex prints to add depth and detail to your creations.
These tips will help you elevate your artworks and add depth to your creations.
Mastering these fundamental techniques will help you unlock a world of creative possibilities in the realm of printmaking.
Creating Texture in Lino Prints
Get ready to elevate your lino printmaking skills by mastering the art of creating captivating texture in your prints.
- Use Your Cutting Tools: Experiment with different cut marks like thin lines, cross-hatching, and dots to create varying tones.
- Get Wiping: Achieve texture by inking up the lino and then wiping away some ink, creating brushy marks for a painterly effect.
- Masking Off Areas with Paper Stencils: Create two-toned prints by using paper stencils to remove layers of ink, giving a softer look.
- Using Textured Stencils to Make Patterns: Add patterns to your prints without carving by utilizing textured stencils, ideal for creating intricate designs.
- Experiment with Ink and Wipe Techniques: Ink the lino, then wipe away parts to create unique textures, ensuring each print is distinct.
Transfer Your Design onto Linoleum
Elevate your lino printmaking journey by exploring innovative techniques to transfer your intricate designs onto linoleum surfaces.
When transferring your design, consider using different design transfer techniques like toner print-out with baking paper.
Print your design using a photocopy or laserjet printer, place it face down on the linoleum, secure it with masking tape, and iron over baking paper on top to reveal the image.
Another method is by using tracing paper and carbon paper to hand-transfer the design onto the linoleum.
You can also try the ink-jet print technique where you print the image dark, place it on the linoleum, spray water on the back, and then pull off the paper.
Experiment with these methods to find the one that works best for your design.
Printing Multiple Blocks for a Complex Print
To create a complex print, beginners can start by understanding the technique of multi-block printing, which involves using multiple blocks to build up layers of color in the final image.
This method allows for intricate designs and color blending that can bring depth and richness to your prints.
Here are some key points to keep in mind:
- Each color in the print is made from a different block.
- Carve a separate block for each color you want to include in the final image.
- Registering the blocks accurately is important for aligning the colors correctly.
- Experiment with overlapping colors to create new shades and effects.
- Practice on small projects before attempting larger, more complex prints.
Exploring Advanced Lino Print Techniques
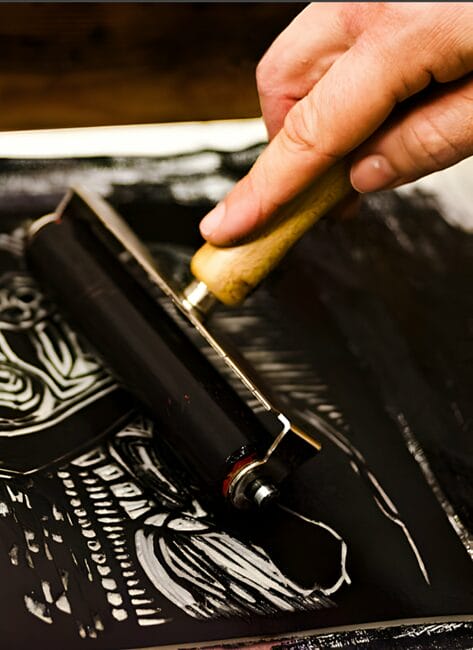
Get ready to elevate your lino printmaking skills by experimenting with various carving tools and techniques.
Discover the artistry of creating intricate multi-colored prints using linocuts, pushing the boundaries of traditional printmaking.
Unleash your creativity and master the advanced techniques that will take your lino prints to the next level.
Using Different Carving Tools
When exploring advanced Lino print techniques, incorporating a variety of carving tools can significantly enhance the intricacy and texture of your prints.
Some tools to consider include:
- V-tools: Perfect for creating various line widths and precise edges.
- U-tools: Ideal for softer lines and removing larger areas of lino.
- Smaller cutters: Great for detailed work.
- Larger cutters: Useful for clearing large areas quickly.
- Art knife: Helpful for sharp edges when needed.
Creating Multi-Colored Prints with Linocuts
Exploring advanced Lino print techniques through the creation of multi-colored prints with linocuts offers a dynamic and intricate approach to expanding your artistic repertoire.
Color blending is key in techniques like the multi-block method, where each color is carved into separate linoleum blocks. This method allows for easier adjustments and reprinting of editions without destroying the blocks.
Alternatively, the ‘Jigsaw’ linocut print technique involves carving a design into one lino block, cutting it into pieces for each color, then reassembling them for printing.
While this method allows for multiple colors in one go, it requires careful handling to prevent pieces from shifting during printing.
Hand-colored linocut prints offer a different approach by adding colors manually after the initial print.
Conclusion
So there you have it, folks! Lino printmaking is a fantastic way to unleash your creativity and create unique works of art.
Whether you’re a beginner just starting out or an experienced artist looking to explore advanced techniques, there’s always something new to learn in the world of printmaking.
So grab your cutting tools, ink, and paper, and let your imagination run wild. Who knows, you might just carve out a masterpiece!
