Are you tired of spending hours on a resin 3D print, only to have it fail halfway through?
We've all been there.
Picture this: you're working on a highly detailed miniature, carefully watching as the printer does its magic. But suddenly, disaster strikes – the print starts to go wrong, and you're left with a mess of resin and wasted time.
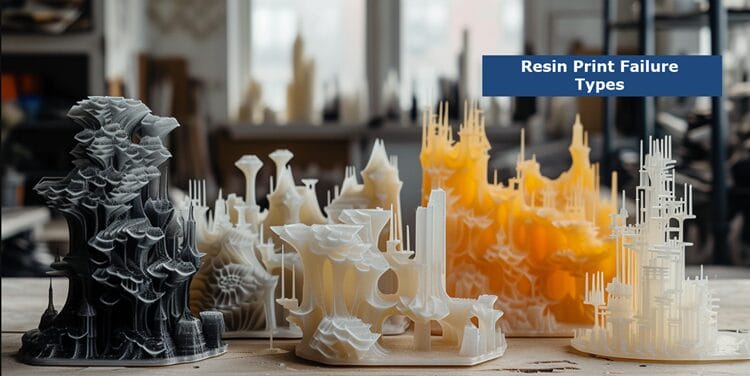
In this article, we're going to explore the most common resin print failure types and provide you with practical solutions to overcome these frustrating obstacles.
Whether you're dealing with brittleness, poor heat resistance, or adhesion problems, we've got you covered.
Say goodbye to failed prints and hello to successful resin 3D printing.
Let's dive in and discover the secrets to conquering resin print failure types.
And if you're in search of a printer to ensure smoother and more reliable prints, we've got you covered there too. Check out our article on the best resin 3D printer for expert recommendations and reviews.
Common Resin Print Failure Issues
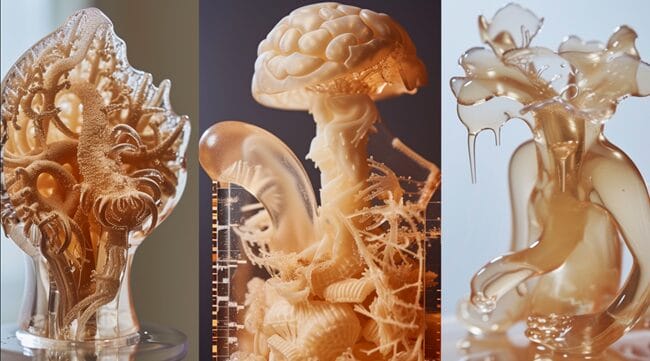
Resin printing can encounter various challenges that result in print failures. Here are some of the most common issues to be aware of:
Uncured Resin
Uncured resin can cause various issues in resin prints, including sticky prints, sticky mold bases, cracked prints, and leaking hollow prints.
Resin curing is a gradual process, and incomplete washing can lead to the presence of uncured resin on the print's surface.
This uncured resin can contaminate the IPA used for washing and cling to certain areas of the model.
To prevent sticky prints, it is important to wash the part thoroughly, potentially using separate bins for initial and final cleaning, and target problem areas for extra washing.
Adhesion Problems
Adhesion problems are a common resin print failure issue where the print does not properly stick to the build plate. This can result in the print detaching during the printing process and failing.
To prevent this issue, it is important to limit the number of prints on the build plate, give each print sufficient space, rotate prints at a 45-degree angle, and regularly check and re-level the build plate for optimal adhesion.
Partial Print
Partial print is a common resin print failure issue where a section of the print fails to fully materialize, resulting in an incomplete object.
This issue can be caused by factors such as inadequate support structures, incorrect orientation of the model, or contamination in the resin vat.
To address this problem, adjustments to support structures, model orientation, and ensuring a clean printing environment are necessary to achieve successful and complete prints.
Stuck to the FEP
This is a common resin print failure issue where the printed object adheres to the FEP film instead of the build plate.
This can happen due to a loose FEP film, insufficient exposure, incorrect leveling, or issues with supports and part orientation.
Resolving this issue may require adjusting settings such as resin profile, layer exposure time, lifting speed, and support density, as well as ensuring proper orientation and adding drain holes for hollowed prints.
Print Quality
Print quality is a common resin print failure issue that can be caused by resin contamination, misleveled build plate, resin separation, incorrect resin settings, over-curing or excessive UV exposure, and the structure and orientation of the print.
It is important to address these issues to ensure successful resin printing.
Troubleshooting Resin 3D Printing

To overcome common issues and ensure successful resin 3D printing, here are several effective troubleshooting techniques you can employ:
Checking for Cured Resin
Checking for cured resin is an essential step in troubleshooting resin 3D printing.
Firstly, ensure that the resin is free of any residue.
Next, inspect the LCD screen for any leaked or cured resin.
Additionally, examine the layer lines – if the parts are over-cured, adjust the exposure time for regular layers. If the first layer doesn't adhere or the print comes off easily, adjust the bottom exposure time.
To determine if a print is fully cured, look for a matte finish, while a glossy finish indicates that the print is still curing.
These checks help identify and resolve any issues with resin curing during the 3D printing process.
Adhesion and Vat Issues
To troubleshoot adhesion and vat issues in resin 3D printing, it is important to check the temperature and ensure it is suitable for proper adhesion.
Repositioning the print to minimize stress on the plate is also crucial, especially for tall models.
Manual leveling of the bed or vat may be necessary if the print is not adhering correctly.
Additionally, inspecting and addressing wear and tear on the interface layer is essential.
Regularly cleaning the vat and mixing the resin can prevent issues caused by debris and inconsistent printing.
If necessary, adding texture to the build plate can improve adhesion.
Exposure Time and Print Settings
Exposure time and print settings are crucial factors in resin 3D printing that can greatly affect the quality of the prints.
Exposure time refers to the amount of time the resin is exposed to the UV light during the printing process. It determines how much the resin is cured and solidified.
To troubleshoot resin 3D printing, it is important to check the exposure time. If the circles are raised more than the holes, it indicates that the exposure time is too high and should be decreased.
On the other hand, if the holes are raised more than the circles, it means that the exposure time is too low and should be increased.
Additionally, it is essential to check the print settings and ensure that they are correct for the type of resin being used. Different resins may require different settings in terms of exposure time, layer thickness, and other parameters.
Using the wrong settings can result in failed prints, deformations, or prints sticking to the vat instead of the build plate.
To determine the correct exposure time, it is recommended to use the preset settings provided by the resin manufacturer. If there is no preset available, the Resin Calibration (SL1/SL1S) feature can be used to find the appropriate values.
Furthermore, it is advisable to reduce the lift speed, especially for the initial layers, to minimize the force applied to the model. A lift speed of 5 mm/min (or 0.1 mm/s) is generally recommended for the initial layers.
Lastly, it is important to regularly check and level the build plate to ensure proper adhesion and printing accuracy.
Calibrating the Printer
Calibrating the printer is an essential step in troubleshooting resin 3D printing issues. It involves adjusting the build plate to ensure proper adhesion and leveling.
Regular calibration is recommended when a new printer arrives or after printing for some time. The goal is to balance layer height, XY resolution, and exposure time to achieve optimal print quality.
Calibration projects and evaluating printed objects help in fine-tuning the printer settings.
Printer Maintenance for Resin 3D Printing
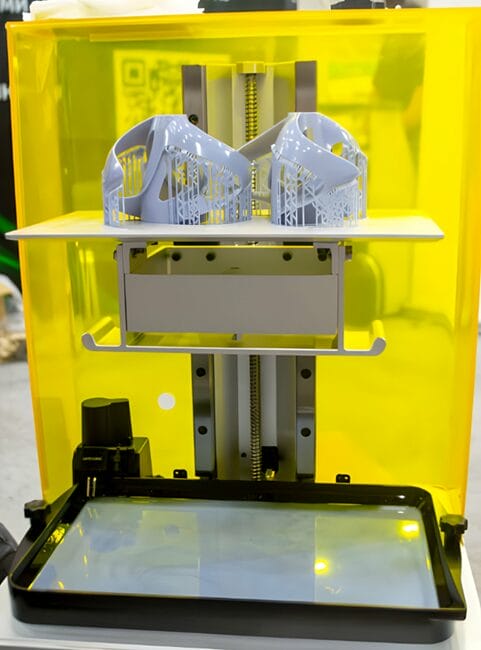
To ensure optimal performance and longevity of your resin 3D printer, it is crucial to prioritize regular maintenance.
Here are some essential tips to help you effectively maintain your printer and maximize its lifespan.
Filtering the Resin and Cleaning the Vat
To ensure high-quality prints and maximize the lifespan of your resin printer, proper maintenance is key. This includes filtering the resin and cleaning the vat to remove any debris that could affect the photoinitiator in UV curing process.
This process involves removing any resin particulates from the vat and returning as much resin as possible to a resin container.
It also includes thoroughly washing the vat with isopropyl alcohol or a resin-cleaning solution and drying it properly to avoid diluting new resin.
This helps ensure high-quality prints and prolongs the lifespan of the vat and FEP film.
Support Structures and Print Speed
This has to do with using thicker and a higher density of supports to improve the success rate and quality of prints.
It also emphasizes the importance of using software wisely to modify support parameters and consider interconnected supports.
Additionally, the choice of resin and the condition of the FEP film are factors to consider for optimal printing results.
Print speed refers to the rate at which a resin 3D printer can produce a printed object.
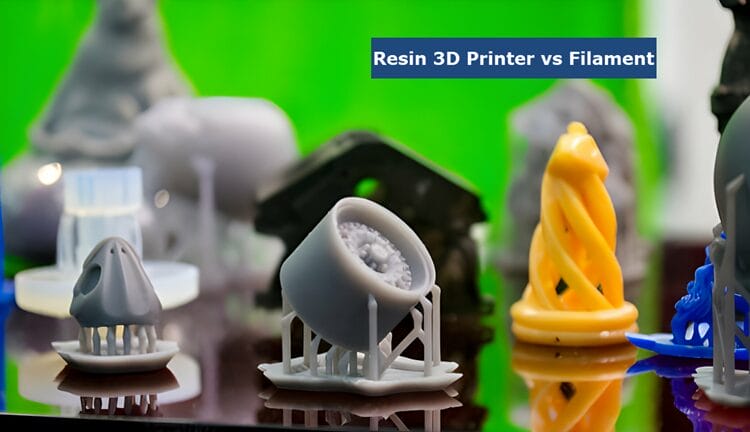
Related: Resin 3D Printer vs Filament
To maximize print speed, it is important to properly maintain the printer. This includes regularly cleaning the resin vat and build platform, ensuring the printer is properly calibrated, and checking for any mechanical issues or loose parts.
Additionally, using a fast resin and adjusting settings such as lift distance, lift speed, retraction speed, light off delay, bottom layer exposure time, normal layer exposure time, nozzle size, and layer height can also help to speed up the printing process.
It is also recommended to print multiple objects in the same batch to optimize printing time.
Resin Bottles and Printer's LCD Screen
Printer maintenance for resin 3D printing includes the proper cleaning of resin bottles and the printer's LCD screen.
Residue and splashes must be removed promptly to prevent solidification, especially on the LCD panel.
Using optical paper is recommended for cleaning, while solvents and alcohols should be avoided.
Finding the Cause of Resin Print Failures
Resin print failures can occur due to inadequate adhesion, delamination, incorrect temperature, issues with the build plate, debris, old or separated resin, incorrect exposure times, layer height or print speed, and low nozzle temperature.
To troubleshoot, check resin settings, clean the printer and resin bottles, and ensure proper maintenance.
Optimizing Print Settings and Z-Axis Calibration
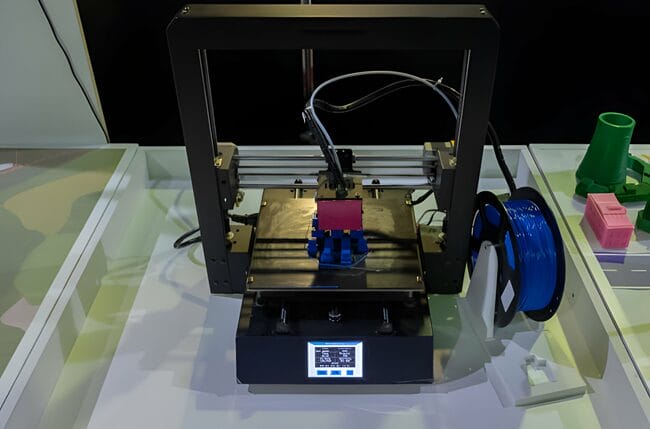
Optimizing print settings and Z-axis calibration are essential steps in achieving high-quality and accurate prints.
By choosing the correct printer and driver, and adjusting print quality and resolution, you can optimize your print settings for the best results.
Additionally, calibrating the Z-axis is crucial in ensuring precise and accurate 3D prints. This involves leveling the building plate, homing the X, Y, and Z axes, measuring the distance from the print bed to a point on the Z-axis print arm, and adjusting the Z-axis offset carefully.
By following these steps, you can improve the overall print quality and accuracy of your prints.
Resolving Common Resin Vat Problems
Resolving common resin vat problems involves troubleshooting issues such as rough textures, pitting, or warping in 3D-printed models.
This can be addressed by adjusting printing settings, using different resins, and ensuring the printer components are clean and properly calibrated.
Addressing Failed Prints Without Support Structures
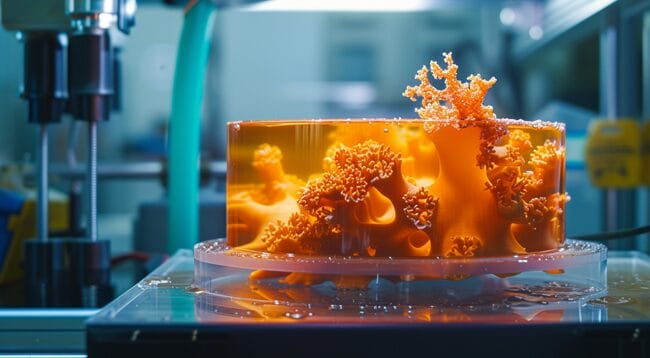
This involves identifying the reasons for failure, such as insufficient support density, decreased accuracy, undersupported models, or not strong enough supports.
To rectify the issue, one can adjust the support density, use supports for intricate designs and overhangs, ensure proper contact diameter and depth for reliable part support, and use stronger supports to hold the 3D model in place.
Resin Printing Tips and Best Practices
To ensure successful resin 3D printing, it is essential to keep in mind these helpful tips and best practices:
Choosing the Right Resin for 3D Printing
Choosing the right resin for 3D printing involves considering factors such as cost, mechanical properties, level of detail, print size and volume, print speed, and material options.
These factors help determine the suitability of the resin for the specific printing needs, ensuring optimal results and efficient use of resources.
Ensuring Proper Adhesion to the Build Plate
Ensuring proper adhesion to the build plate is essential for successful 3D printing.
This involves keeping the build plate surface clean and free from any contaminants that could hinder adhesion.
Additionally, certain materials may require the use of adhesives like glue or adhesion sheets to improve adhesion between the print and the build plate.
Minimizing Resin Waste and Ensuring Print Success
To minimize resin waste and ensure print success, it is important to optimize your print design, avoid using rafts and supports, hollow out your prints with escape holes, design for success with reinforcement structures, reduce the print size when possible, remove prints from the vat promptly, and allow excess resin to drain before removing the print from the build plate.
These tips will help save resin, reduce costs, and improve the quality of your 3D prints.
Conclusion
In conclusion, resin print failures can be frustrating, but with the right troubleshooting techniques and maintenance practices, you can overcome these obstacles and achieve successful resin 3D printing.
By addressing issues such as uncured resin, adhesion problems, partial prints, prints stuck to the FEP film, and print quality, you can improve your overall printing experience.
Remember to check for cured resin, troubleshoot adhesion and vat issues, adjust exposure time and print settings, calibrate your printer, and maintain it regularly.
By following these tips and best practices, you'll be on your way to producing high-quality resin prints without the frustration of failures.
Happy printing!

