Source: Pixabay
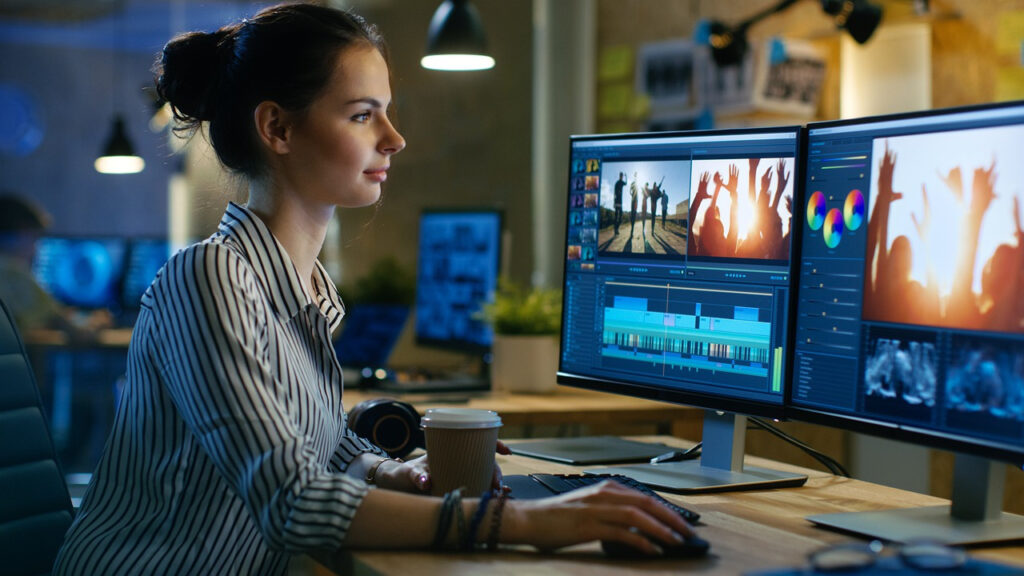
Video editing is the process of altering video footage by adding, deleting, or manipulating audio and video clips. The term can also refer to the entire video production process, from pre-production through post-production.
Transitions are a necessary part of video editing. They help to smoothly move from one scene to the next, soften the edges of video footage, or create a dreamy or ethereal effect.
It might seem like a daunting task, but with the right tools and some basic knowledge, you can be well on your way to creating stunning videos! In this article, we'll go over some video editing techniques for beginners that will help you get started.
Why Video Editing Is Important?
The importance of video editing cannot be overstated. It is the process by which your raw footage is transformed into a polished, finished product. By taking the time to edit your video, you can ensure that it looks its best and tells your story in the most effective way possible.
Editing can also help you to fix any mistakes that were made during filming, cover up unwanted elements in the footage, add special effects, or create a more professional look and feel.
There is a good deal of software including video editors, video slideshow makers, and other apps that can help you create attractive videos.
So if you're new to video editing, don't worry – it's a skill that can be learned relatively easily. Just take your time and be patient!
Video Editing Techniques For Beginners
Source: Pixabay
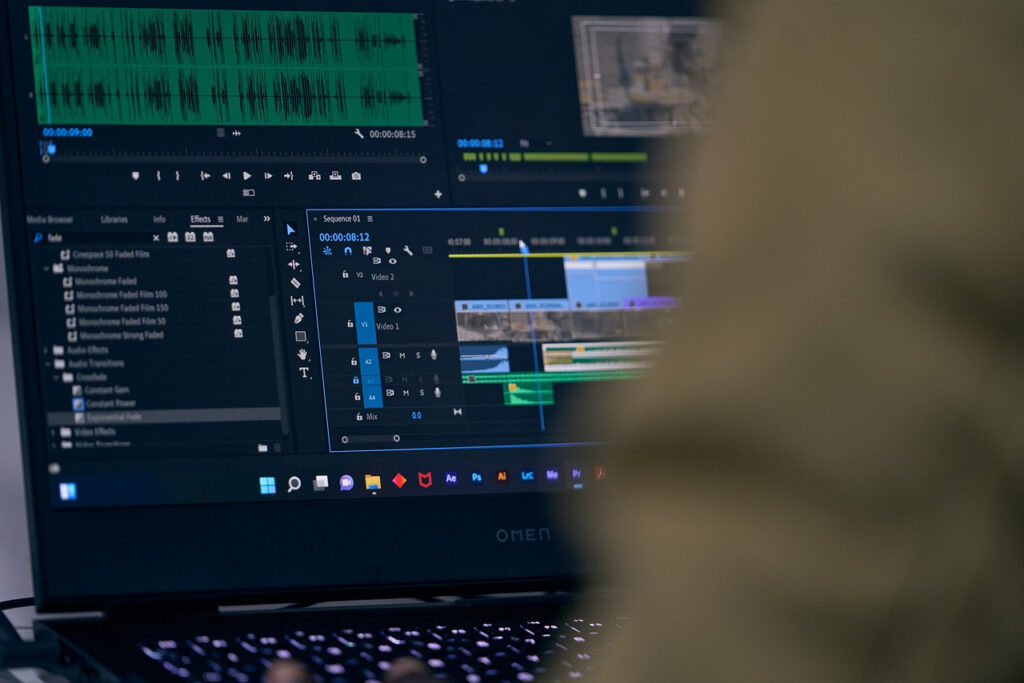
Let's take a look at some basic video editing for beginners to know. By mastering these techniques, you'll be well on your way to creating amazing videos!
1. Cutting on action
Cut-on-action is a basic but essential video editing technique that simply involves cutting the video footage from one clip to another while the subject is in motion. The technique helps to create a seamless and fluid transition between scenes and add excitement or energy to a video. There are a few things to keep in mind when cutting on action. Make sure that you're cutting on the motion, not before or after it. This will ensure that the transition is smooth and natural looking. Try to do it as close to the action as possible to avoid any jarring cuts. It's an effective way to keep viewers engaged and also help to mask any imperfections in the footage.
2. Montage
Video editing for beginners is much easier to learn if you know how to make montages. It's a great technique because it can be used to create a variety of different effects. It involves cutting and merging multiple video clips to create a new video. Using this technique can help you tell a story or narrative, show a sense of time passing or the different stages of a process, and create a feeling of excitement or suspense. One of the most important things to keep in mind when creating a montage is the order of the video clips. Choose it carefully to achieve the desired effect. There are plenty of tutorials on how to make a video montage, so check them out if you’re having any trouble.
3. J & L cuts
A J-cut is a video editing technique where the audio from the next scene is played before the video for that scene is shown. This creates a seamless transition between scenes and can be used to build tension or heighten anticipation. Try using a J-cut to surprise your viewers with a sudden scene change or to tease them with a glimpse of what's to come.
An L-cut is the opposite of a J-cut, where the audio from the previous scene is carried over into the next scene. This can be used to create a sense of continuity or to keep the viewer engaged with the video.
There are many examples of J and L cuts used in movies. Both techniques are effective and help add production value to your video.
4. Jump cut
A jump cut is used to make a video appear more dynamic. It's created by cutting abruptly from one shot to another within the same scene. This can be used to create the illusion of speed or to emphasize a change in location or time. A great example of a jump cut is this scene from “Little Shop of Horrors”. Notice how the video jumps from one scene to the next without any smooth transition. This makes the video appear more dynamic and fast-paced.
5. Match cut
Using a match cut technique, the video editor matches the action or emotion in the two video clips so that it appears as if one clip is continuing seamlessly into the next. This can be done by matching the placement of objects in the frame, their shape, the color tones, or the movement of the camera. The technique helps to create a sense of continuity or to suggest a causal relationship between two events. Match cuts can be used for both video and audio transitions. They can be very effective when used correctly but should be used sparingly as too many match cuts can make a video feel disjointed and choppy.
6. Blur effect
A blur effect for video is a great way to add some visual interest to otherwise static shots. To blur your video, just open any video editing program and apply a blur filter wherever you want. When using blur, it's important to be subtle. Too much blur can make your video look muddy and unprofessional. Try to find the right balance between adding interest and preserving clarity. Remember, you can always go back and adjust blur settings if you need to make changes.
7. Slow motion
Slow motion is a technique used in video editing in which the frames of a video are played back at a slower rate than normal. This can be done for a variety of reasons: to create a dramatic or suspenseful effect, show something in more detail, or highlight a particular scene or action.
When using slow motion in your video editing, keep in mind the effect it will have on the overall mood and tone of your project. The slow motion should be used sparingly, and only when it will serve a specific purpose. Here is an example of using slow motion in movies.
8. Cutaway
A cutaway allows you to insert footage or images that aren't being shown in the main shot. It's an interruption of the main action to show a different angle or a different part of the scene.
This can be used to show something that is happening off-screen, to provide context for the main action, or simply to get a closer look at something.
There are different variations of cutaways, and choosing the right one will depend on the specific situation:
- Reaction shot: cutting away to someone's face as they react to what is happening on-screen. This can be used to show emotions or to add suspense
- Insert shot: cutting away to a close-up of an object or a person to provide more detail
- Parallel action: changing the scene that is happening at the same time as the main action to provide more information or create a more interesting story
- Over-the-shoulder shot: showing the action from the perspective of someone who's watching it from behind.
Video Editing Tips for Beginners
Source: Pexels
Now that we know some of the basic techniques, let's take a look at some tips that can help you to create better videos.
1. Get to know your video editing software
Before you start editing your video, get familiar with the software you'll be using. Spend some time playing around with the different features and getting a feel for how the software works. This will help you become more comfortable with the software and make the editing process much easier.
2. Organize yourself
Editing videos can be a messy process, so it's important to have a well-organized workspace.
You should have enough light, fresh air, and comfortable equipment like a video editing desk, headphones, and a good computer setup. Make sure you have all of your footage and assets organized and easily accessible.
This will make it much easier to find the clips you need when you're ready to start putting your video together.
Create folders for each scene or sequence in your video and label them accordingly. You can also create a master folder that contains all of your project files.
3. Start with a rough cut
Don't try to make your video perfect from the start. It's much easier (and less overwhelming) to start with a rough cut of your footage and then go back and tweak things as you need later.
Get all of your footage into the timeline and then begin trimming away the excess. Once you have a basic idea of how you want your video to look, you can start adding transitions and effects.
4. Use special effects
Adding special effects to your video can make it pop! There are all sorts of special effects that you can use, from simple things like changing the color or adding a border, to more complex effects like motion tracking or a green screen.
If you're not sure where to start, there are lots of tutorials and resources available online that can help you get started.
5. Add music
Adding music to your video can help set the tone and create a more cohesive finished product. It can also help to cover up any unwanted noise in the footage.
Choose music that matches the mood of your video and that will complement the images and footage you've selected.
Be sure to get permission from the copyright holder before adding any tracks to your video or use royalty-free music.
6. Pay attention to the little details
It's the little details that can make or break a video. Things like transitions, background music, and sound effects can all help to enhance your video and make it more professional looking.
But be careful not to overdo it – too many details can be just as bad as not enough.
7. Keep it short and sweet
When creating a video, keep in mind that less is more. Most people have short attention spans, so it's important to keep your videos on the shorter side. You don't want to overload your viewers with too much information or footage.
Try to edit your videos down to the most essential information and get rid of anything unnecessary. Make sure you provide a clear and concise message.
8. Remove watermarks
Most video editing software programs come with a watermarking tool. This allows you to add your logo or image to the video. However, watermarks can be distracting and make your video look unprofessional.
You can easily remove watermarks from your footage by either purchasing the full version of your video editor or a free online watermark remover.
9. Save your project often
You never know when something might happen to your computer or your editing software: it could crash, or you could accidentally delete your project file.
That’s why it's always a good idea to save your project often, just in case. That way, you won't lose all of your hard work!
10. Export your video in the right format
After you've made the last changes, it's time to export your video. Depending on where you want to post your video, there are different formats that you can use, so it's important to export your video to the right one.
Otherwise, you might not be able to play it back on certain devices. Some of the most popular video formats are MP4, AVI, and MOV.
If you're not sure which format to use, you can check various guides available online and find the one that's best for your needs.
Wrapping Up
If you're just getting started with video editing, using these video editing techniques and tips should help you get on your way to creating great-looking videos.
Experiment with different transitions, effects, and other techniques to find what works best for you and your video. With a little practice, you'll be a video editing pro in no time!
