More and more photographers worldwide prefer shooting in the RAW format, a file format that captures all image data recorded by the sensor of the camera when you shoot a photo.
If you shoot in a file format such as JPEG, the image information is lost due to compression. However, since the RAW format does not compress information about the photo, it allows you to produce images of higher quality, and correct problematic photos, which would not be recoverable had you shot it in the JPEG format.
It is the main reason why most modern-generation cameras can shoot RAW images, which includes point and shoots. You get the highest quality images when you shoot in this format since RAW records all of the data from the camera sensor.
If you set up your camera to click pictures in the JPEG format, it first shoots the object in the RAW format and then processes it internally to convert RAW to JPEG.
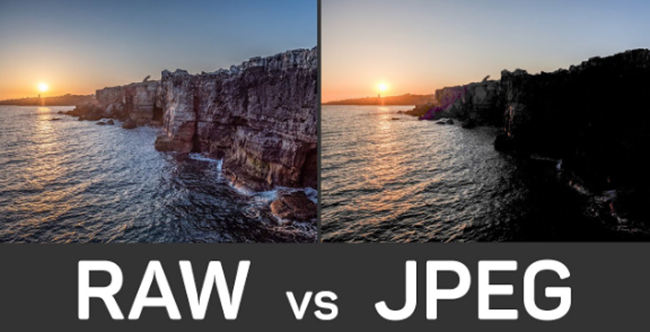
However, the processor of the camera is not as powerful as your brain or your computer. Therefore, the quality of the converted JPEG is nowhere as good as that of its RAW counterpart.
Quickly Navigate to:
Why The Need for RAW Development?
You must be thinking, why is it necessary to convert the file format since RAW provides optimum details. For the uninitiated, it is not possible to normally view such a format. Therefore, these files require conversion to a format like JPEG through post-processing before one can see them.
Although this increases the time needed to process photographs, the quality of the converted is much better compared to images shot directly in the JPEG format.
Additionally, the file size of RAW images is huge.
Shoot in RAW Then Convert into JPEG with Special Software
Keeping the above factors in mind, I strongly recommend that you shoot all your images in the RAW format and then use dedicated software to convert them into JPEG. There is no need for you to worry, as you can take the help of photo processing software to convert RAW images into JPEG without compromising on quality.
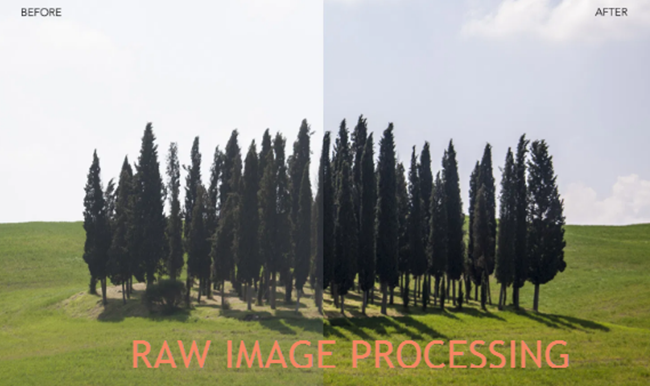
By using such software, you can decide how the final image should look, and produce far better results.
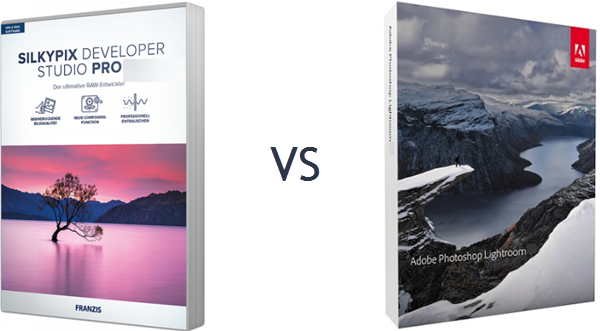
Although numerous programs allow you to convert RAW images into JPEG format, I shall compare Silkypix and Lightroom, two of the most popular photo processing applications, in this review. I shall be comparing Silkypix vs Lightroom 2024 to find out which is better. Let us begin with Silkypix.
Silkypix Developer Studio Pro vs Lightroom
If you are using an image conversion program for the first time, I recommend you try Silkypix. It is extremely easy to use. You first need to select the folder or file with which you want to work.
As this software builds thumbnails quickly, working with folders does not pose any problems. However, you might face some issues with scrolling when dealing with thousands of images, even on a powerful computer. I shall not consider this as a disadvantage as you will face the same issue with Lightroom.
Silkypix's Interface
The default user interface is hip gray, but you have the option to change that to 18% gray or light-gray “skin.” It is up to you to decide which interface is comfortable for you. However, I strongly recommend sticking with the basic 18% gray, as it provides you with a nice and neutral working area.
The area across the top of the window has an extensive toolbar for common actions such as view layouts, printing, cropping, file operations, as well as developing. The last-mentioned feature allows you to save the image in JPEG or TIFF format. The main adjustment tools are along the left side of the window.
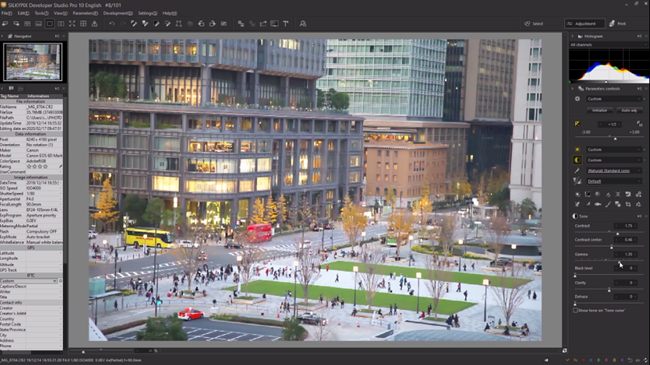
Along with the normal controls such as contrast, white balance, and exposure, this software also has several unique adjustment tools such as the “Fine Color Controller” that allows you to change luminance, saturation, and hue for specific color ranges by moving a dot. No doubt, you will find this feature in other image processing applications, but Silkypix presents it in a very intuitive way.
A Wide Array of Presets
The software has several presets for most of the adjustment tools. The White Balance tool is a great example of this. Considering the number of presets this application has, you can rest assured that your image will fit in one of them.
You also have the option of creating custom settings for occasions when you need more control. For example, the custom settings of White Balance allow you to have control over tint and color temperature, as well as adding in the choice to adjust for darks separately.
The custom tool contains two eye droppers that allow you to click the image to choose either skin tones or gray balance. The software also has the popular ‘color wheel', which enables you to adjust by saturation and hue.
However, I will not recommend you to use this option. Instead, right-click on the point you wish to neutralize and use the pop-up context menu to neutralize as well as choose gray balance through it. You can use this option for skin tones as well by selecting “set skin color” in the menu.
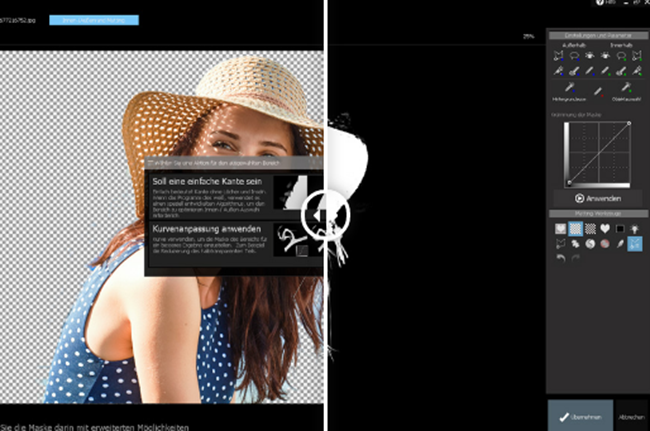
The Curves tool in this software works similarly to the Curves tool in Photoshop and is a useful addition.
You also have the option to add points, which allow you to work on individual color channels or composite RGB data, as well as fine-tune the adjustments.
I loved the highlight control option that offers you more precise control over this area than any other tool in other similar programs. It also includes dynamic range optimization.
Considering the number of options that this software has, you can easily forget what changes you have made in one image and want to apply the same changes to other images. The “Taste” settings come to your rescue in such situations as it allows you to add custom settings to the preset lists for the different adjustment tools.
I suggest that you save all development settings to the “Cloakroom,” which can accommodate up to four different settings if you want to apply it to multiple images. You also have the option of copying and pasting development settings within an editing session.
Saving And Printing
Silkypix allows you to save files as Adobe RGB or sRGB. The printer dialogue contains options to print contact sheets or individual images, creating a new page automatically as required, based on the selected printing paper size. The “Details” tab has color space and sharpening settings, while the “Basic” tab controls layout settings.
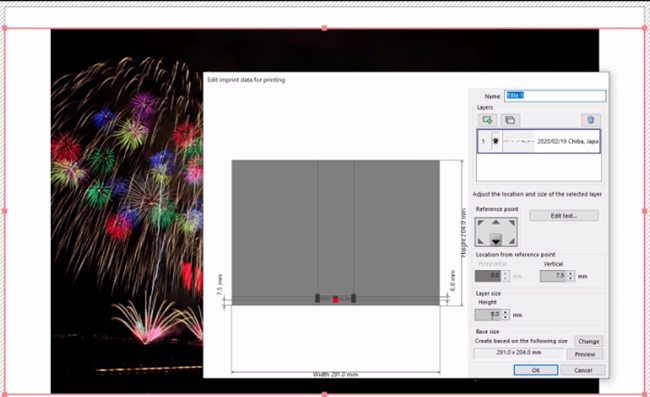
Once you have completed the editing work, you can convert your images to JPEG or TIFF. I recommend you to use the batch processing option if you are editing multiple photos. Just mark the pictures you want batch-processed while editing and the application will use them in the development process automatically.
Do not forget to click on the “Settings” dialog under the batch processing section to get more file type settings. Variables to build file names can also be included.
The quality of the output file determines the efficiency of the program, and Silkypix does a very good job with it.
Silkypix needs some time to get acquainted with, but once you master it, expect excellent results.
Price
The original price of the program is $195.00, but for a limited period, Franzis, the developers, are offering it at a discounted price. If you have any doubts, download the trial version and use it. I am sure that you will love this application. I shall now review Lightroom in this Adobe Lightroom vs Silkypix evaluation.
Is Lightroom Better Than Silkypix
Unlike Silkypix, Lightroom by Adobe offers a cloud-based workflow. Because of this, you can access your pictures whenever you want on any computer or smartphone so long as it is connected to the internet. It is a high-powered tool but has an easy learning curve.
The best part is that you can edit your image(s) using a laptop, tablet, or smartphone with a similar or the same Lightroom interface. These features make Lightroom the tool of choice for those who take pictures while on the move and want to edit them before sending them to their friends, relatives, or colleagues.
You can edit photos with the help of easy-to-use tools such as presets and sliders that allow you to create photos that look exactly the way you want.
Storage Space of Lightroom
Adobe offers a 1TB space for storing your photographs. However, I believe that this may not really be enough, considering the huge file size of RAW images. However, the storage space is good enough for storing thousands of your edited and converted JPEG or TIFF pictures.
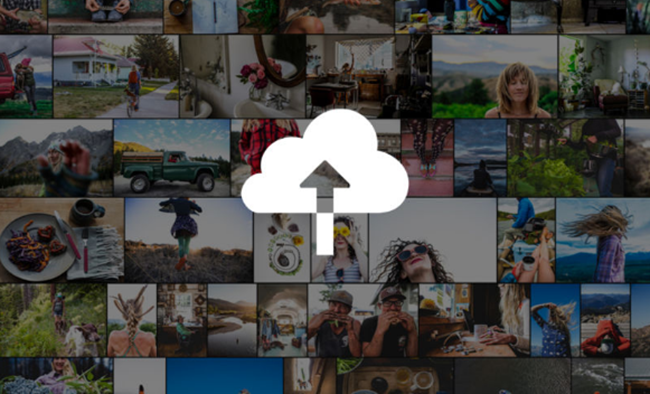
Although you can access cloud storage from any device, bear in mind that the desktop, web, and mobile versions of Lightroom have certain differences. Therefore, it is not possible to access all features of the program everywhere.
Silkypix Developer Studio Pro vs Lightroom
By default, Lightroom uploads your images to Adobe's Creative Cloud servers when you import them. After importing, Lightroom organizes your photographs in a more streamlined and much simpler way than in Lightroom Classic. It stores the images in “All Photos”, and you can organize them into albums from there.
You also have the option of creating folders for albums as well as create a more organized hierarchical structure for your image library. You can also store images on your computer's hard disk drive as well.
However, I strongly suggest that you increase the default storage settings that allow you to use only 25% of the HDD's storage space, as this increase improves image loading/caching performance.
Although Lightroom CC does not support smart albums, it provides you with a way to search your pictures on the cloud through Adobe Sensei. I was disappointed by the fact that Lightroom, when used in the tiled view, does not display any metadata along with its image thumbnails.
Silkypix or Lightroom
I decided to check the user panels to evaluate the power and ease of use of Lightroom. It has an Edit panel with geometry, optics, detail, effects, color, light, and profile sections that can easily handle most basic editing.
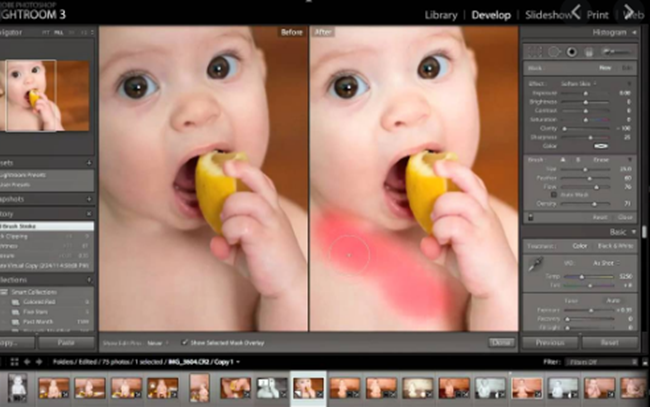
Beneath the “edit” panel lies the healing brush tool as well as the crop and rotate tool. Below this, I found tools for the three local adjustments of Lightroom: The radial gradient, linear gradient, and the brush tool.
The fact that Lightroom has no support for external editors apart from Photoshop dismayed me.
While comparing Lightroom vs Silkypix, I was not too happy to find that the former has no support for virtual copies. It implies that I cannot try out various processing options on a picture without having to create new files, which is the norm of most non-destructive editing tools.
Adobe has added new tools in its latest version of Lightroom such as HDR pano merge, pano, and HDR. You will also find a target adjustment tool, which allows you to drag up & down on specific tones and colors in the images to adjust them in the B&W mixer, color mixer, and tone curve panels.
A new ‘enhance details' option allows you to produce better & improved results and fine detail with Adobe X-Trans files.
I had planned to give equal marks to both applications in this Silkypix compared to Lightroom review, but the monthly subscription of $9.99 put me off.
What Is The Difference Between Silkypix and Lightroom?
The $9.99 monthly subscription price of Lightroom disappointed me a lot. It means that I pay more than the one-off cost of Silkypix if I use Lightroom for some time. Besides, I need to have an internet connection if I want to use the offering from Adobe.
Is Silkypix Better Than Lightroom
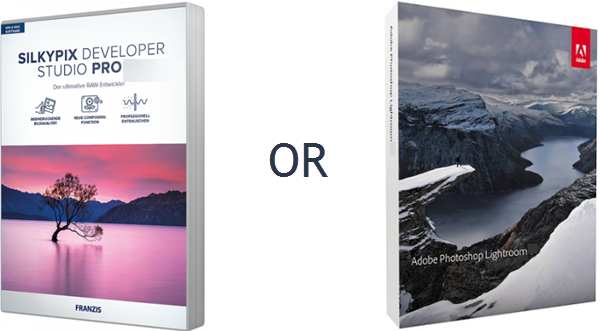
The 1TB storage space offered by Lightroom will exhaust quickly if I store RAW files on them. If this is not enough, Lightroom has no support for external editors apart from Photoshop, which is why I give a higher ranking to Silkypix in this review.
If anyone asked me if Silkypix is to be considered as a very good option for Lightroom, I would not hesitate to say “yes” because all the necessary tools you will need for any high-end RAW image development can be found in Silkypix Developer Studio Pro.
